Welcome to Rofiles
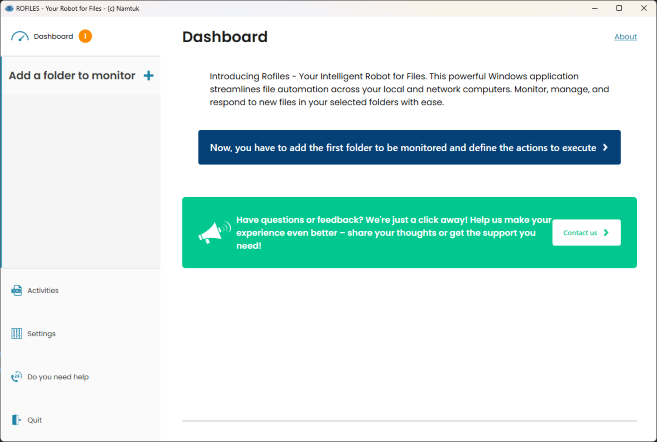
Here are the basic steps to help you get started:
1. Add your first folder to monitor
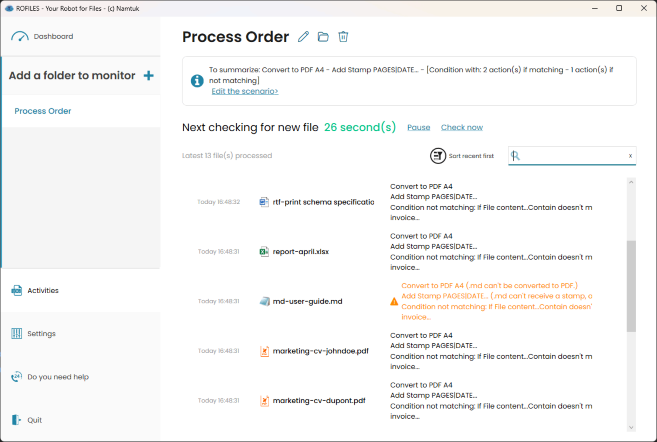
To add a folder, click 'Add a folder to monitor' in the left menu. Once added, the folder will appear in the menu. Click on the folder to view its files and properties. You can edit the folder by clicking its name or the 'Edit' icon.
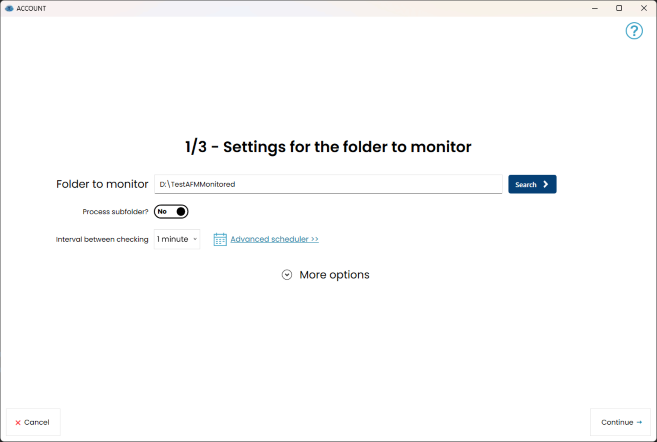
2. Configure folder settings
Select the folder you want to monitor by clicking on 'Search', it can be a local or network folder. Use the full network path (like \\network\storage\...) instead of shortcuts (such as x:\). Click 'More options' for advanced settings, like selecting a folder to move files to after processing, either on success or error.
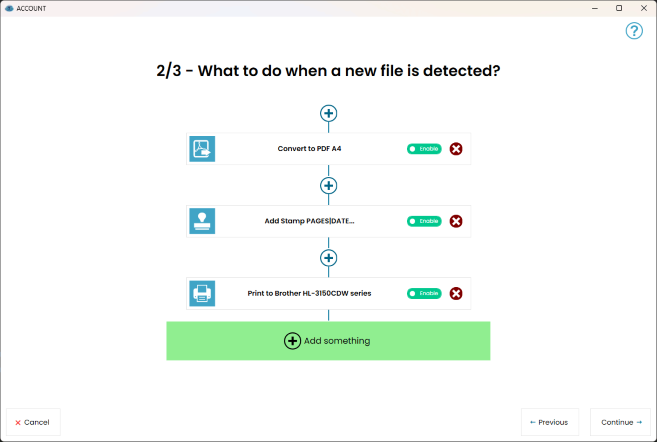
3. Define the scenario for new files
Actions and conditions will be processed in order from top to bottom. Click 'Add something' to add an action or condition to your scenario.
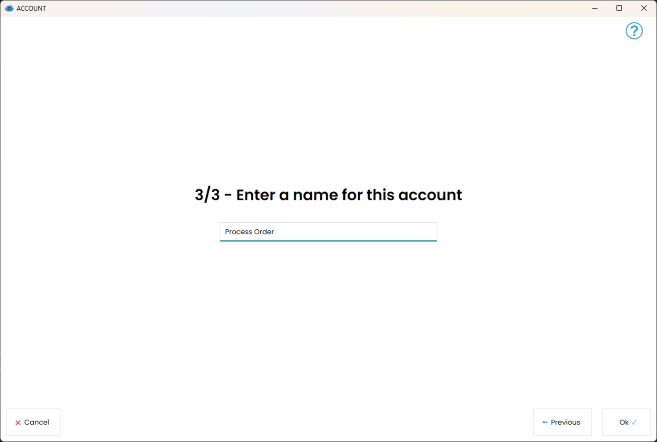
4. Name your account
Enter a name for this account and confirm it. Your folder is now set up and ready to be monitored.
5. Now it is processing the files.
The application will now process new files in your monitored folders. You can minimize or close the app— the Windows service will continue to run in the background and handle new files automatically.
